
Free No Sew Pocket Loaf Bear Crochet Pattern
Looking for a cute and beginner-friendly crochet project? This adorable No Sew Pocket Loaf Bear is quick to make, requires absolutely no sewing, and is perfect for markets, gifts, or adding to your amigurumi collection!
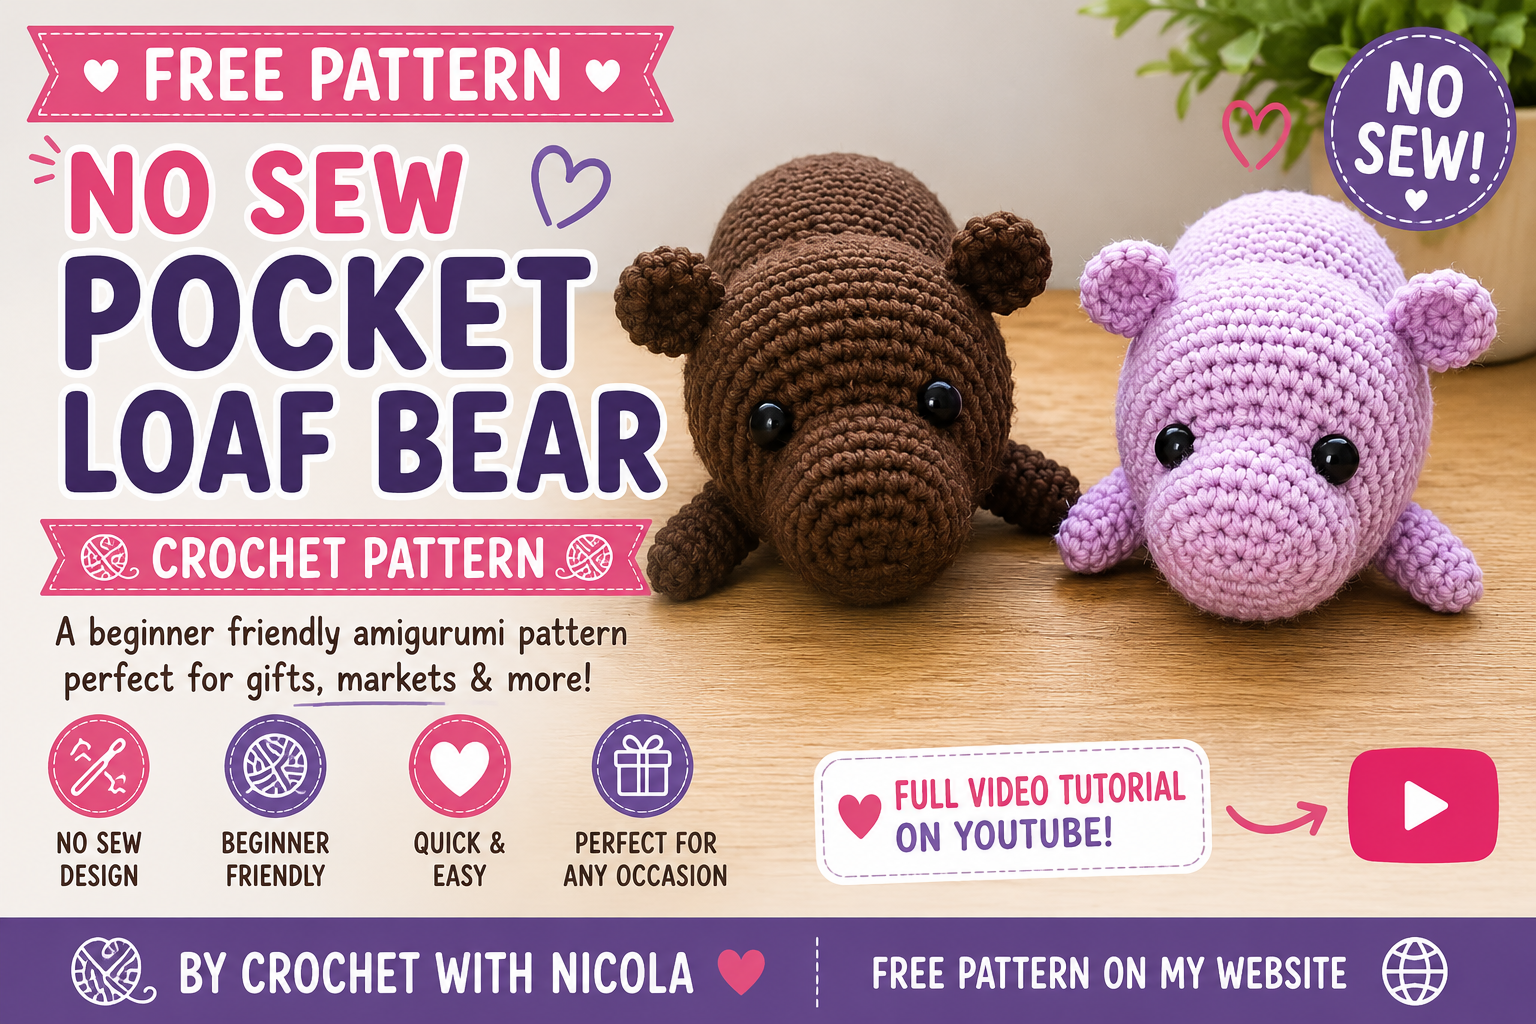
With its adorable loaf-shaped body and sweet little ears, this Pocket Loaf Bear is sure to steal your heart. Best of all, it’s completely no sew, making it a fantastic project for beginner crocheters and experienced makers alike.
If you prefer to crochet along with a video, be sure to check out my full step-by-step YouTube tutorial below!
🎥 Full Video Tutorial Coming Soon!
The step-by-step YouTube tutorial for this pattern will be released on July 6, 2026 at 9:00am (Melbourne Time).
Patreon members received early access to this tutorial as part of their membership benefits.
Please Note: This free written version of the pattern does not include step-by-step photos. For additional support, please watch the free YouTube tutorial above or purchase the premium ad-free PDF pattern from my Etsy shop, which includes detailed photo instructions.
Prefer an Ad-Free PDF?
This free written pattern is supported by ads. If you’d prefer an ad-free, printable PDF complete with step-by-step photos, you can purchase the premium version in my Etsy shop.
[Insert Etsy Link Here]
Materials
- 10ply / Worsted Weight Yarn
- 4.5mm Crochet Hook
- 15mm Safety Eyes (or preferred size)
Safety Disclaimer:
Safety eyes are not recommended for toys intended for children under 3 years of age, as they may pose a choking hazard. If making this project for a young child, I recommend substituting the safety eyes with embroidered eyes instead.
Please ensure that all components are securely attached before gifting or giving this item to a child. Adult supervision is recommended.
- Polyester Toy Stuffing
- Stitch Marker
- Yarn Needle
- Scissors
Abbreviations
MC – Magic Circle
Ch – Chain
SC – Single Crochet
Inc – Increase
Dec – Invisible Decrease
FLO – Front Loop Only
Sl St – Slip Stitch
st/sts – Stitch/Stitches
() x – Repeat the instructions in brackets the specified number of times
Notes
- This pattern is worked in continuous rounds unless otherwise stated.
- Use a stitch marker to keep track of your rounds.
- Finished size will vary depending on yarn and hook used.
- Please do not copy, redistribute, sell, or claim this pattern as your own.
- You may sell finished items made from this pattern provided credit is given to Crochet With Nicola as the designer.
Pattern.
Ears (Make 2)
Using Your Choice of Colour.
Round 1 – SC 6 into Magic Circle. (6 sts).
Round 2 – (Inc) 6 times. (12 sts).
Round 3 – SC 1 Round, Sl-St into first St.
Fasten Off.
Arms (Make 2)
Round 1 – SC 6 into Magic Circle. (6 sts).
Round 2 – (SC 1, Inc) 3 times. (9 sts).
Rounds 3 – 7 – SC 5 Rounds.
Round 8 – (SC 1, Dec) 3 times. (6 sts).
Fasten Off and Stuff, Do Not Sew Them Up.
Legs (Make 2)
Round 1 – SC 6 into Magic Circle. (6 sts).
Round 2 – (Inc) 6 times. (12 sts).
Rounds 3 – 5 – SC 3 Rounds.
Round 6 – (Dec) 6 times. (6 sts).
Fasten Off and Stuff, Do Not Sew Them Up.
Head/Body
Stuff as you go.
Round 1 – Ch 6, into 2nd Ch from hook, SC 4, Inc in the last Ch.
Do not turn your work. Continue crocheting along the opposite side of the foundation chain: SC in the first st, SC 3, Inc in the last st. (12 sts).
This piece is now working in the round like you would for a Magic Circle.
Round 2 – (SC 1, Inc) 6 times. (18 sts).
Round 3 – (SC 2, Inc) 6 times. (24 sts).
Rounds 4 – 7 – SC 4 Rounds.
Round 8 – (FLO) – (SC 1, Inc) 6 times, (Back to Both Loops) – SC 12. (30 sts).
Round 9 – (Inc, SC 2) 6 times, SC 12. (36 sts).
Round 10 – SC 1 Round.
Round 11 – (SC 3, Inc) 6 times, SC 12. (42 sts).
Rounds 12 – 15 – SC 4 Rounds.
Insert the safety eyes between Rounds 8 – 9.
Safety Disclaimer:
Safety eyes are not recommended for toys intended for children under 3 years of age, as they may pose a choking hazard. If making this project for a young child, I recommend substituting the safety eyes with embroidered eyes instead.
Please ensure that all components are securely attached before gifting or giving this item to a child. Adult supervision is recommended.
Round 16 – SC 10, (Place the Ear flat against the side of the head. Crochet through both the Ear stitches and the Head Stitches at the same time for the next 3 SC to attach the Ear), SC 9, (Place the second Ear flat against the side of the head. Crochet through both the Ear stitches and the Head Stitches at the same time for the next 3 SC to attach the Ear), SC 17.
Placement Note: If you would like additional help with ear placement and attachment, be sure to check out my free step-by-step YouTube tutorial. For detailed photo tutorials, the premium PDF pattern is available in my Etsy shop.
Round 17 – SC 1, (Place the Arm flat against the side of the head. Crochet through both the Arm stitches and the Head Stitches at the same time for the next 3 SC to attach the Arm), SC 28, (Place the second Arm flat against the side of the head. Crochet through both the Arm stitches and the Head Stitches at the same time for the next 3 SC to attach the Arm), SC 7.
Placement Note: If you would like additional help with arm placement and attachment, be sure to check out my free step-by-step YouTube tutorial. For detailed photo tutorials, the premium PDF pattern is available in my Etsy shop.
Round 18 – SC 1 Round.
Round 19 – (SC 5, Dec) 6 times. (36 sts).
Round 20 – (SC 4, Dec) 6 times. (30 sts).
Round 21 – SC 1 Round.
Round 22 – (SC 4, Inc) 6 times. (36 sts).
Round 23 – (SC 5, Inc) 6 times. (42 sts).
Rounds 24 – 33 – SC 10 Rounds.
Round 34 – SC 5, (Place the Leg flat against the side of the head. Crochet through both the Leg stitches and the Head Stitches at the same time for the next 3 SC to attach the Leg), SC 29, (Place the second Leg flat against the side of the head. Crochet through both the Leg stitches and the Head Stitches at the same time for the next 3 SC to attach the Leg), SC 2.
Placement Note: If you would like additional help with leg placement and attachment, be sure to check out my free step-by-step YouTube tutorial. For detailed photo tutorials, the premium PDF pattern is available in my Etsy shop.
Round 35 – (SC 5, Dec) 6 times. (36 sts).
Round 36 – (SC 4, Dec) 6 times. (30 sts).
Round 37 – (SC 3, Dec) 6 times. (24 sts).
Round 38 – (SC 2, Dec) 6 times. (18 sts).
Finish Stuffing.
Round 39 – (SC 1, Dec) 6 times. (12 sts).
Round 40 – (Dec) 6 times. (6 sts).
Fasten Off.
Finishing
Finish stuffing the bear firmly and close any remaining opening.
Congratulations! Your adorable No Sew Pocket Loaf Bear is complete!

I’d absolutely love to see your finished bears. Be sure to tag me on social media so I can admire your creations.
Instagram: @CrochetWithNicola
Facebook: Crochet With Nicola
Want More Crochet Patterns?
Join my Patreon for:
💜 Early access to tutorials
💜 Exclusive crochet patterns
💜 Behind-the-scenes content
💜 Pattern collections and more!
Happy Crocheting!
Nicola 💜
Leave a Reply