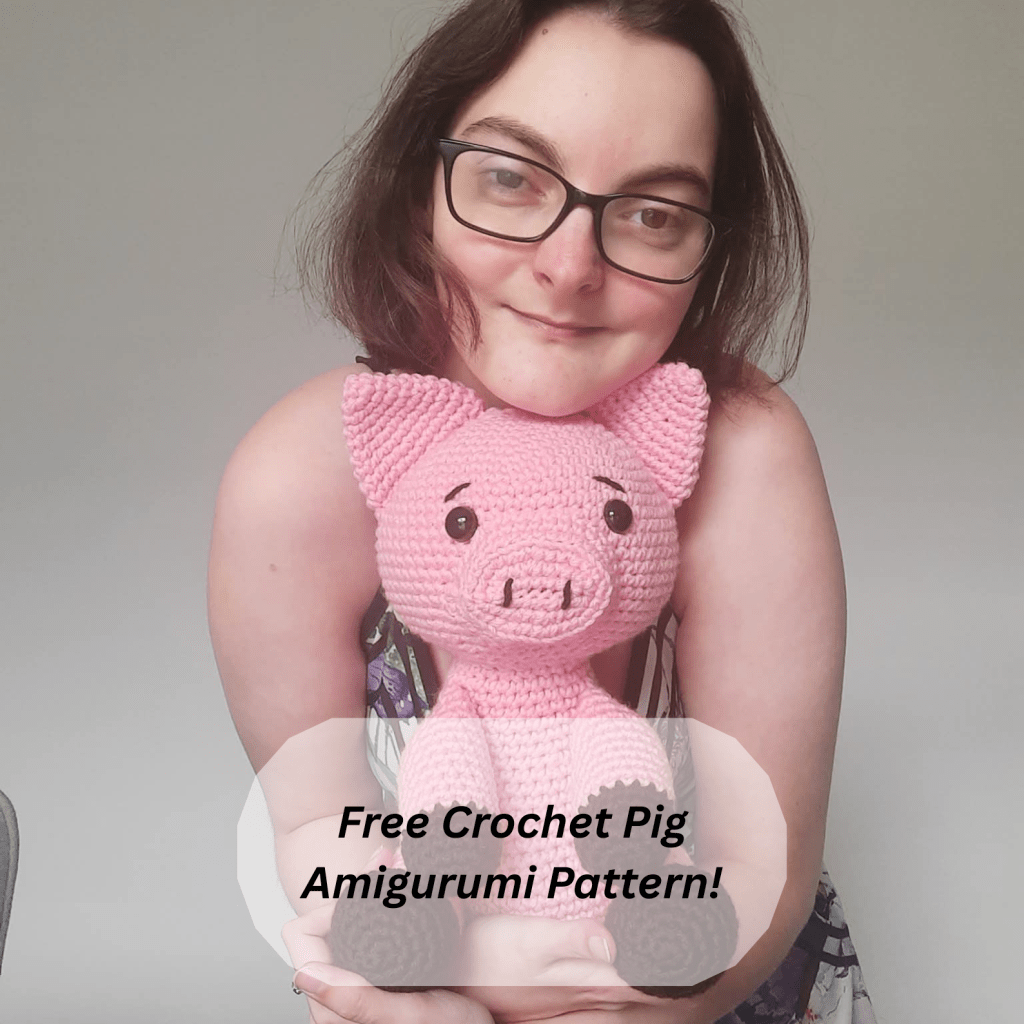
Hello Lovely! and welcome to my Free Crochet Pig Amigurumi Pattern (Easy Sitting Pig Plush).
This adorable Piggy Amigurumi pattern is a must-make for crochet lovers!
I designed it to be simple, fun and beginner-friendly, this pattern works up quickly (I made it in 5 days while also living my busy life) and makes the perfect gift.
I just couldn’t resist designing this sweet little Piggy.
There’s just something about squishy, adorable crochet animals that makes my heart happy – and this one is extra special!
I’ve made this pattern super simple to follow so you can enjoy the process and end up with your own adorable piggy.
I do hope you love my free pattern and I would love to see this adorable piggy in other colours so be sure to post yours up in the comments.
So without further ado, my Free Crochet Pig Amigurumi Pattern.
This pattern is also available as an ad-free, printer-friendly pdf pattern that can be purchased at the link below on Etsy.
Ad-Free, Printer-Friendly Pdf Pattern of Crochet Pig Amigurumi Pattern
Free Crochet Pig Amigurumi Pattern.
Designed by Nicola Marie Rattley.
Copyright 2026 by Nicola Marie Rattley.
All rights reserved. No part of this pattern may be reproduced or transmitted in any form or by any means, electronic or mechanical, or by any information storage and retrieval system, without permission in writing from the copyright owner.
Required:
Hook Size – 4mm (AUS).
Wool Ply – 10 Ply, Worsted.
1 Ball of Main Colour (Pink).
1 Ball of Second Colour (Brown).
Tapestry Needle.
Polyester Toy Filling.
14mm Safety Eyes.
WARNING – If this item is going to a small toddler under the age of 6, I recommend that you embroider the eyes instead so they don’t pose a choking hazard.
Stitch Marker.
Finished Size is 7 Inches Wide and 11 Inches Tall.
Abbreviations: (This Pattern is for US Terminology).
Ch – Chain.
SC – Single Crochet.
Inc – Increase (2 SC in same stitch).
Dec – Decrease (SC 2 stitches together).
BLO – Back Loop Only.
DC – Double Crochet.
St – Stitch.
Sts – Stitches.
MC – Magic Circle (otherwise known as Magic Ring).
Pattern.
Head.
Use Main Colour (Pink).
Round 1 – SC 6 sts into Magic Circle. (6 sts).
Round 2 – (Inc) 6 times. (12 sts).
Round 3 – (SC 1, Inc) 6 times. (18 sts).
Round 4 – (SC 2, Inc) 6 times. (24 sts).
Round 5 – (SC 3, Inc) 6 times. (30 sts).
Round 6 – (SC 4, Inc) 6 times. (36 sts).
Round 7 – (SC 5, Inc) 6 times. (42 sts).
Round 8 – (SC 6, Inc) 6 times. (48 sts).
Round 9 – (SC 7, Inc) 6 times. (54 sts).
Round 10 – (SC 8, Inc) 6 times. (60 sts).
Rounds 11 – 22 – SC 12 Rounds.
(Insert the eyes or embroider the eyes between rounds 15 – 16, roughly 8 – 10 stitches apart).
Round 23 – (SC 8, Dec) 6 times. (54 sts).
Round 24 – (SC 7, Dec) 6 times. (48 sts).
Round 25 – (SC 6, Dec) 6 times. (42 sts).
Round 26 – (SC 5, Dec) 6 times. (36 sts).
Round 27 – (SC 4, Dec) 6 times. (30 sts).
Round 28 – (SC 3, Dec) 6 times. (24 sts).
Begin Stuffing the Head Here.
Round 29 – (SC 2, Dec) 6 times, (18 sts).
Round 30 – (SC 1, Dec) 6 times. (12 sts).
Round 31 – (Dec) 6 times. (6 sts).
Fasten Off, Finish Stuffing and Sew Up.
Snout.
Use Main Colour (Pink).
Ch 9 Stitches, start from the 2nd ch from the hook, SC 8, (Do Not Turn, instead crochet into the chain on the other side), SC 8. (16 sts).
You will now work this piece in the round.
Round 1 – (SC 1, Inc) 8 times. (24 sts).
Round 2 – (SC 2, Inc) 8 times. (32 sts).
Round 3 – BLO – SC Round.
Rounds 4 – 5 – SC 2 Rounds.
Fasten Off.
Ears. (Make Two).
Use Main Colour (Pink).
Round 1 – SC 5 sts into Magic Circle. (5 sts).
Round 2 – (Inc) 5 times. (10 sts).
Round 3 – SC Round.
Round 4 – (SC 1, Inc) 5 times. (15 sts).
Round 5 – SC Round.
Round 6 – (SC 2, Inc) 5 times. (20 sts).
Round 7 – SC Round.
Round 8 – (SC 3, Inc) 5 times. (25 sts).
Rounds 9 – 10 – SC 2 Rounds.
Fasten Off.
Body.
Use Main Colour (Pink).
Round 1 – SC 6 sts into Magic Circle. (6 sts).
Round 2 – (Inc) 6 times. (12 sts).
Round 3 – (SC 1, Inc) 6 times. (18 sts).
Round 4 – (SC 2, Inc) 6 times. (24 sts).
Round 5 – (SC 3, Inc) 6 times. (30 sts).
Round 6 – (SC 4, Inc) 6 times. (36 sts).
Round 7 – (SC 5, Inc) 6 times. (42 sts).
Round 8 – (SC 6, Inc) 6 times. (48 sts).
Rounds 9 – 14 – SC 6 Rounds.
Round 15 – (SC 6, Dec) 6 times. (42 sts).
Rounds 16 – 18 – SC 3 Rounds.
Round 19 – (SC 5, Dec) 6 times. (36 sts).
Rounds 20 – 22 – SC 3 Rounds.
Begin Stuffing Here.
Round 23 – (SC 4, Dec) 6 times. (30 sts).
Rounds 24 – 29 – SC 6 Rounds.
Round 30 – (SC 3, Dec) 6 times. (24 sts).
Fasten Off, Finish Stuffing, then Sew it to the Head.
Arms. (Make Two).
Start with Second Colour (Brown).
Round 1 – SC 6 sts into Magic Circle. (6 sts).
Round 2 – (Inc) 6 times. (12 sts).
Round 3 – (SC 1, Inc) 6 times. (18 sts).
Rounds 4 – 6 – SC 3 Rounds.
Change Colour to Main Colour (Pink).
Rounds 7 – 16 – SC 10 Rounds.
Round 17 – (SC 1, Dec) 6 times. (12 sts).
Round 18 – SC Round.
Fasten Off, Stuff and Sew Up Flat.
Legs. (Make Two).
Start with Second Colour (Brown).
Round 1 – SC 6 sts into Magic Circle. (6 sts).
Round 2 – (Inc) 6 times. (12 sts).
Round 3 – (SC 1, Inc) 6 times. (18 sts).
Round 4 – (SC 2, Inc) 6 times. (24 sts).
Rounds 5 – 8 – SC 4 Rounds.
Round 9 – SC 8, (Dec) 4 times, SC 8. (20 sts).
Round 10 – SC 8, (Dec) 2 times, SC 8. (18 sts).
Change Colour to Main Colour (Pink).
Rounds 11 – 20 – SC 10 Rounds.
Round 21 – (SC 1, Dec) 6 times. (12 sts).
Fasten Off, Stuff and Sew Up Flat.
Tail.
Ch 21 sts, starting in the 2nd ch from the hook.
DC into each ch space 3 times.
Fasten Off.
Congrats you should now have completed all the pieces you need to assemble your own Piggy!
Assembly.
Step 1 – Sew the snout onto the face, right under and between the eyes, you may choose to stuff it, however I left it unstuffed.
Step 2 – Sew the ears onto the top sides of the head, I laid them flat and pinned them onto the head to help keep them in place while I sewed them in.
Step 3 – Embroider the snout holes and eyebrows.
Step 4 – Sew the head onto the body, the body should have a big opening that sews easily onto the bottom on the head. Tip – Line the body up with one of the crochet rounds to help keep your place.
Step 5 – Sew the arms onto the top sides of the body, I sewed them on partially diagonal so that they would be facing the front more (you can choose to or not to do it like this).
Step 6 – Sew the legs onto the bottom sides of the body, in line with the arms.
I sewed these so they were sideways, straight outwards so that my pig would be in the sitting position (you can choose to or not to do it like this).
Step 7 – Simply sew the tail onto the bottom back of the pig, be sure to sew this on well.
Now all your pieces should be sewn in!
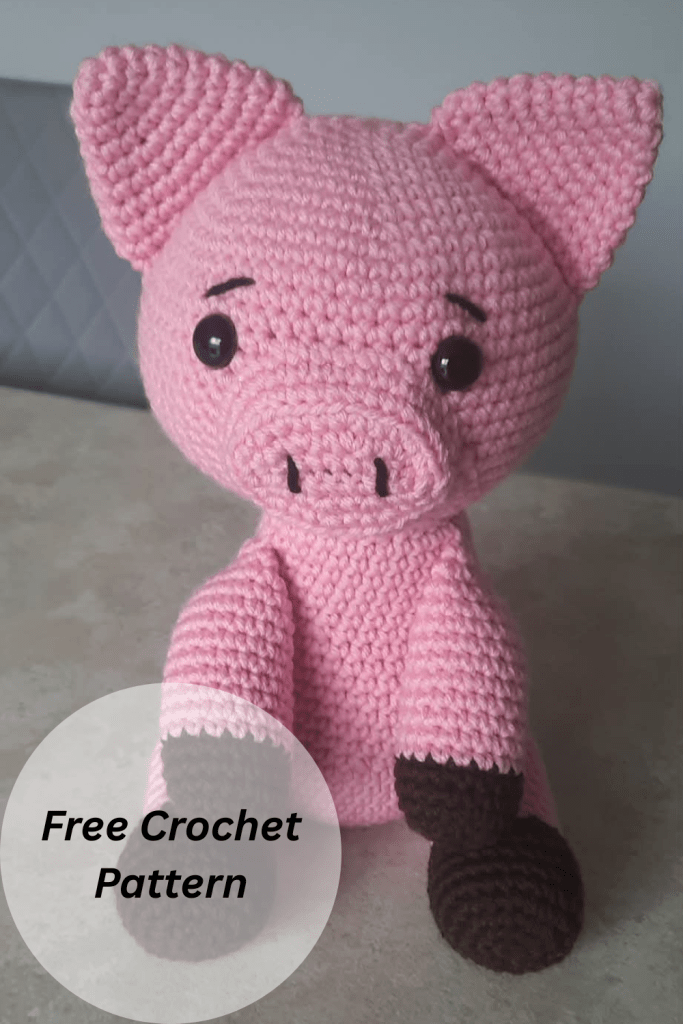
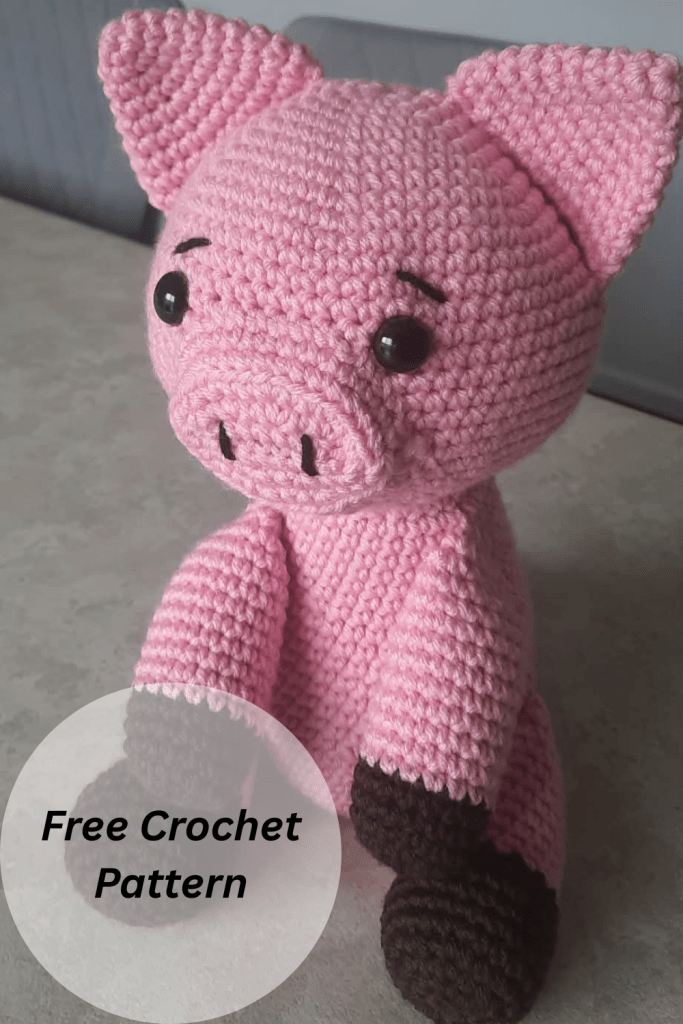
Your Piggy should now look like this!
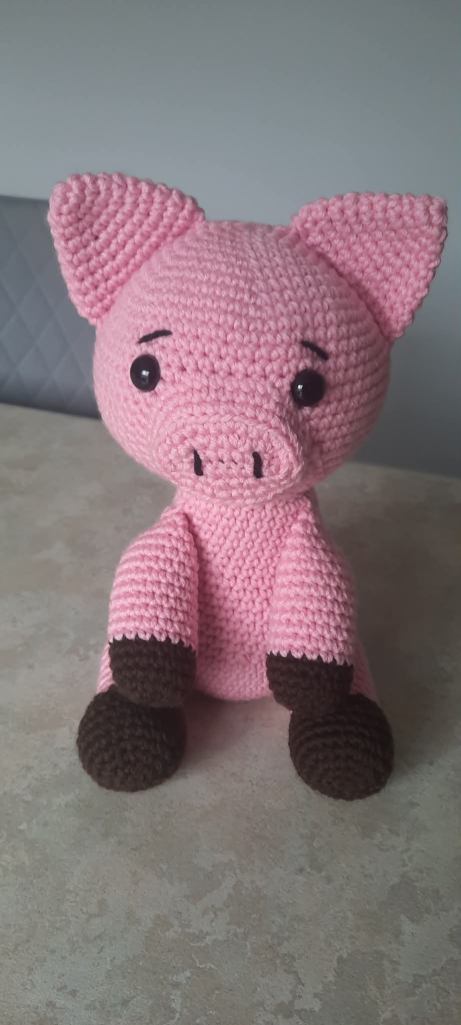
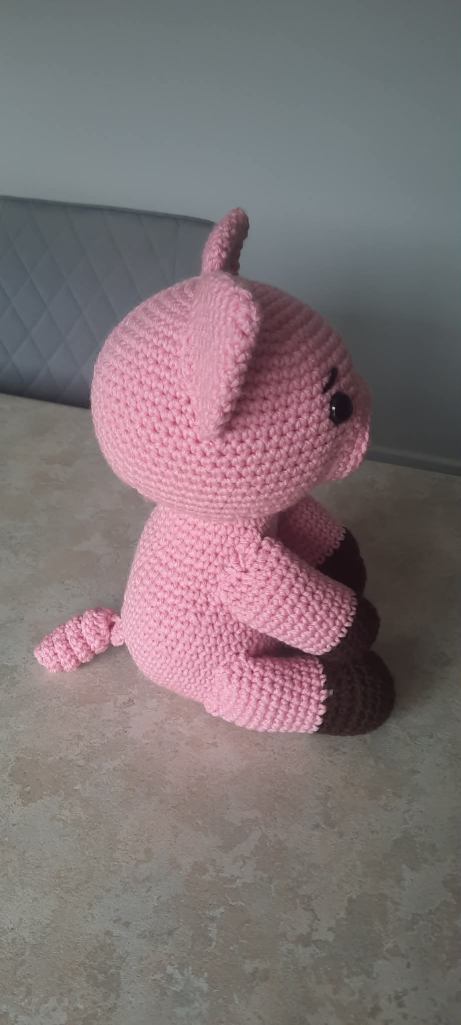
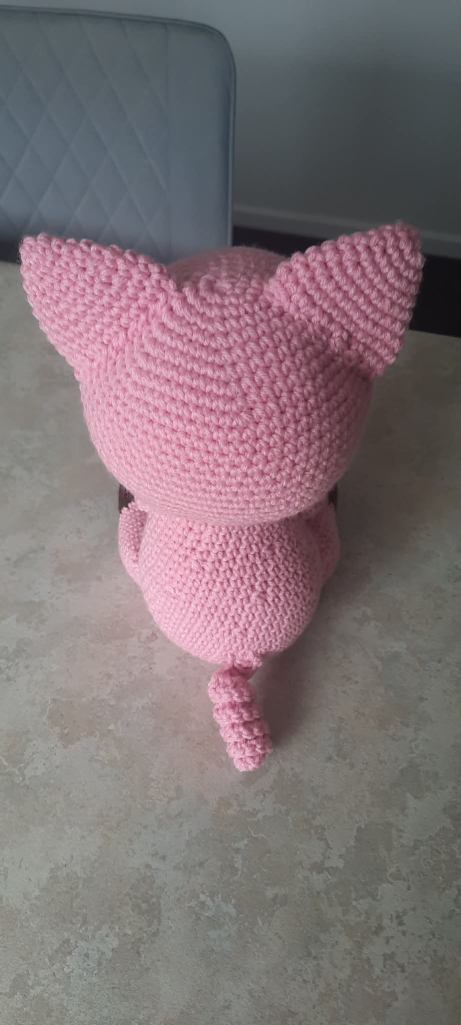
You have completed your Crochet Piggy!
If you have enjoyed crocheting my adorable little Free Crochet Pig Amigurumi Pattern I would love if you could leave a comment telling me what you love about it, also don’t forget to post up your pictures of your own cute Piggy!
Also don’t forget to subscribe to my website for more Free Patterns to come.
If you have enjoyed this pattern you also enjoy my:
Free Puppy Baby Blanket Crochet/Amigurumi Pattern
Free Mini Bumble Bee Crochet/Amigurumi Pattern
Free Sweet Pea the Elephant Crochet Pattern
Free Poke-Ball Crochet Pattern
xx Nicola.

Leave a Reply